Install Jupyter Viewer for Confluence through the Atlassian Universal Plugin Manager (UPM):
| Status | ||||
|---|---|---|---|---|
|
Click the admin drop-down on your Confluence instance and choose Add-ons
Click Find new add-ons from the left-hand side of the page
Locate Jupyter Viewer for Confluence via search
Click Install
You're done!
| Status | ||||
|---|---|---|---|---|
|
Click on Settings on your Confluence Cloud instance
Click Find new add-ons from the left-hand side of the page
Locate Jupyter Viewer for Confluence via search
Click free trial
You're done!
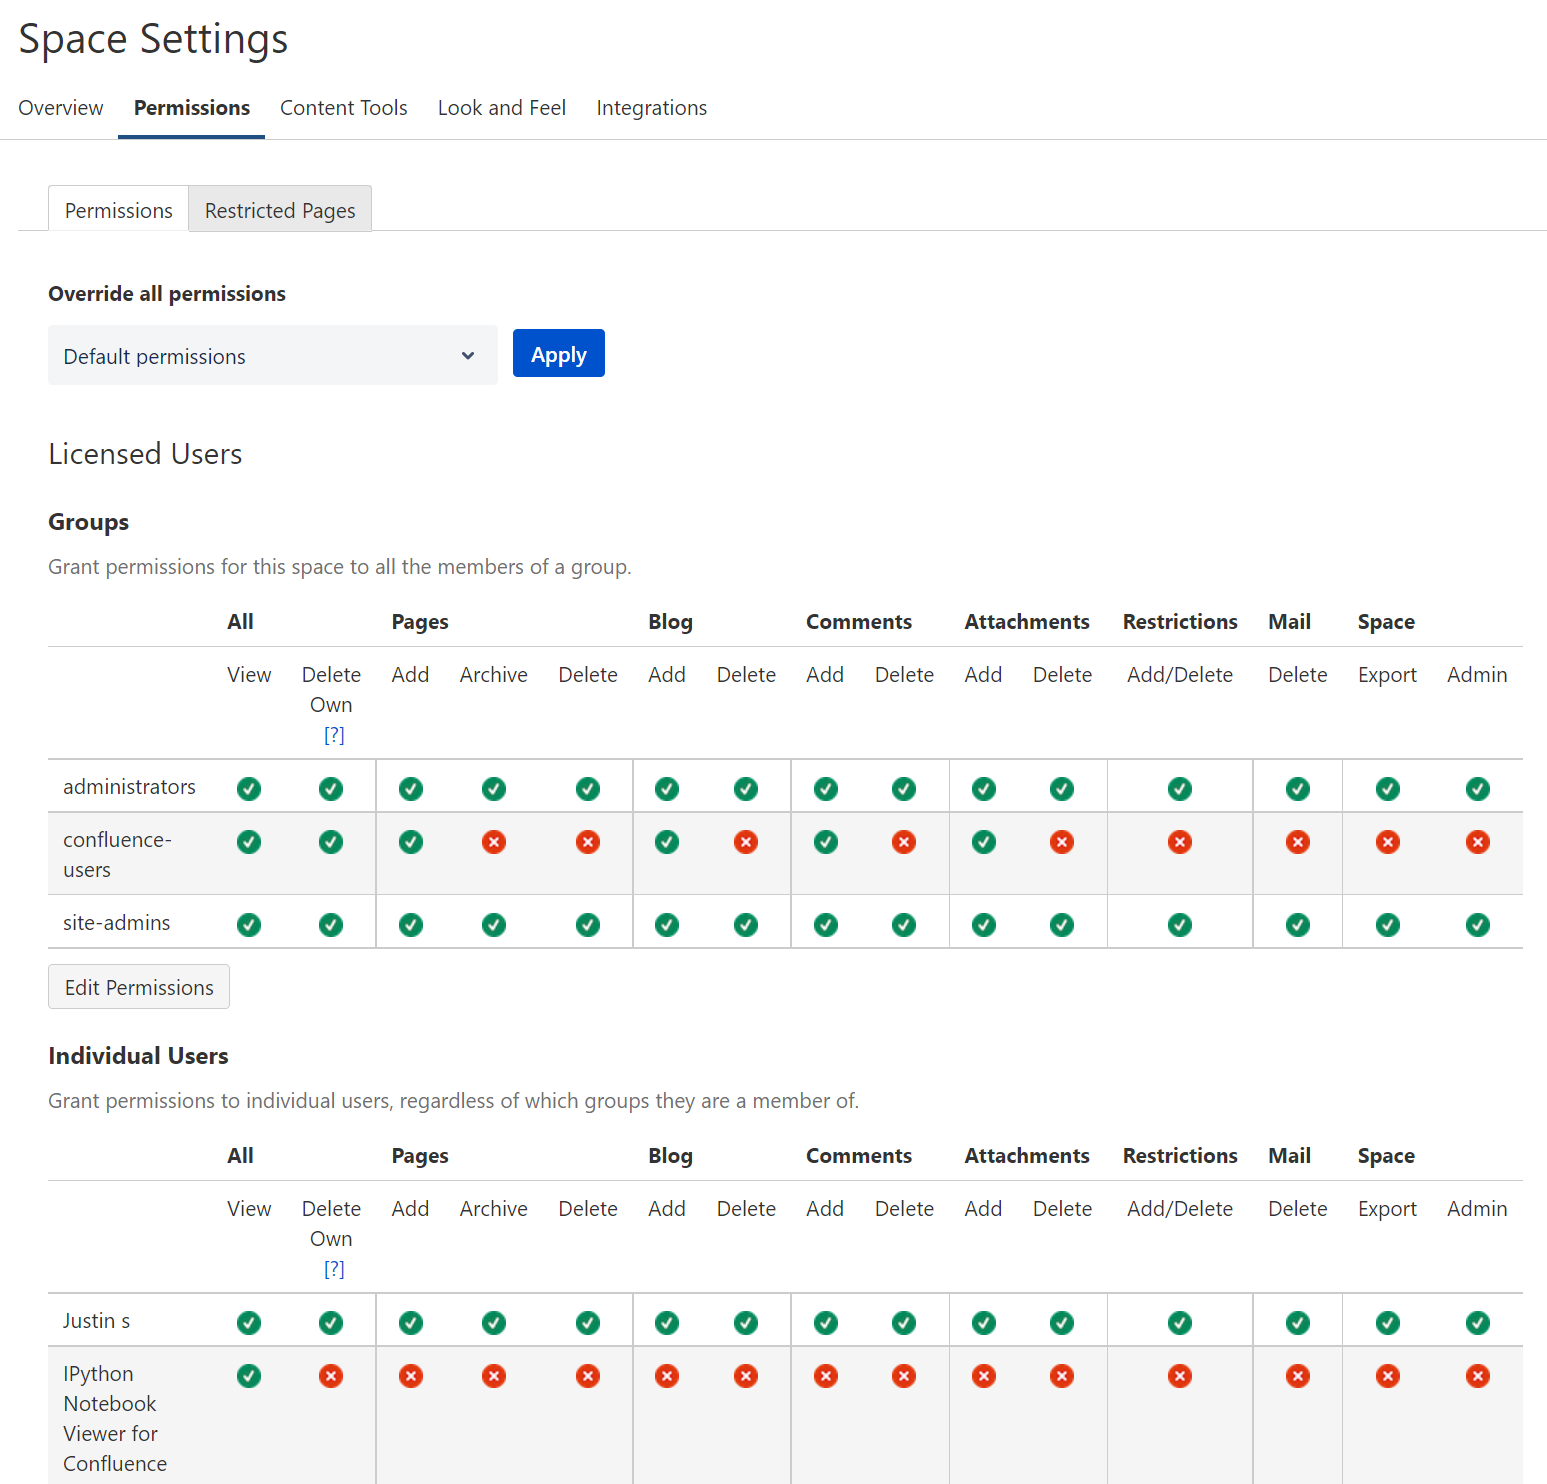
Configure permissions (optional)

By default, Jupyter Viewer is part of the confluence-users group. Usually, no configuration is required. However, if this group does not have permission to view a particular Confluence Space, the app
cannot retrieve notebook attachments within that space.
Add the app user to a space
Space Settings → Permissions
Individual Users
Edit Permissions
In the user search box, type “viewer”
Select
IPython Notebook Viewer for

Settings → User Management → Groups
Create group
Choose a name (ex. “apps”)
Check the box next to Add members in the next step and click Next
Add “IPython Notebook Viewer for Confluence” user and click Done
Confluence → Settings → Security → Space Permissions
Next to Default Space Permissions, click Edit Permissions
Confluence and Add
Save All
Update default permissions
To ensure that Jupyter Viewer for Confluence is available in every space, a site admin can add it to the default space permissions.